To ensure your product stands out on shelves and/or online retailers, knowing how to correctly design Mylar bags is critical. Packaging is typically the first thing that consumers notice, and a professionally designed bag can convey to the consumer the quality of the product, create a sense of trust, and provide brand identity. Many businesses utilize custom Mylar packaging because it provides protection for their products and serves as an effective marketing tool.
When considering how to design Mylar bags, making something that looks good is only one of the factors to consider; thoughtful planning for the size of the Mylar bag, the material that will be used to manufacture the bag, printing limitations for the manufacturer's printer, compliance items required, and how the Mylar bag will perform in a physical sense must all be considered when creating a final design. An excellent design will consider all of these factors and will produce a visually and physically appealing final design that is reliable in its use.
Prior to creating artwork, you will need to determine which bag structure will work best for your product and its dimensions. The layout of your design will depend on the shape and dimensions of the bag.
Commonly used bag styles include:
Stand up pouches: Used for displaying the bag at retail.
Flat pouches: Used for holding lighter weight items.
Gusset bags: Used for larger quantities of products.
Die-cut shapes: Used to create an unusual or unique-looking bag.
Take accurate measurements of your product so that you know how much product will fit inside your mylar bag; this will ensure that the bag will hold all of the contents you intend to place inside, without leaving any extra space or putting too much stress on the seams of the bag.
A die line is a technical blueprint that shows where the mylar bag will be cut, folded, glued, and printed.Creating designs without templates can result in you placing or trimming essential elements from your print during production.
Dielines tell you where:
• Your text and logo safe zones will be
• Your bleed areas will be
• Your seal and zipper locations will be
• Your bottom gusset folds will be
It is important that you use the manufacturer's template because this will ensure the final printed bag meets your expectations.
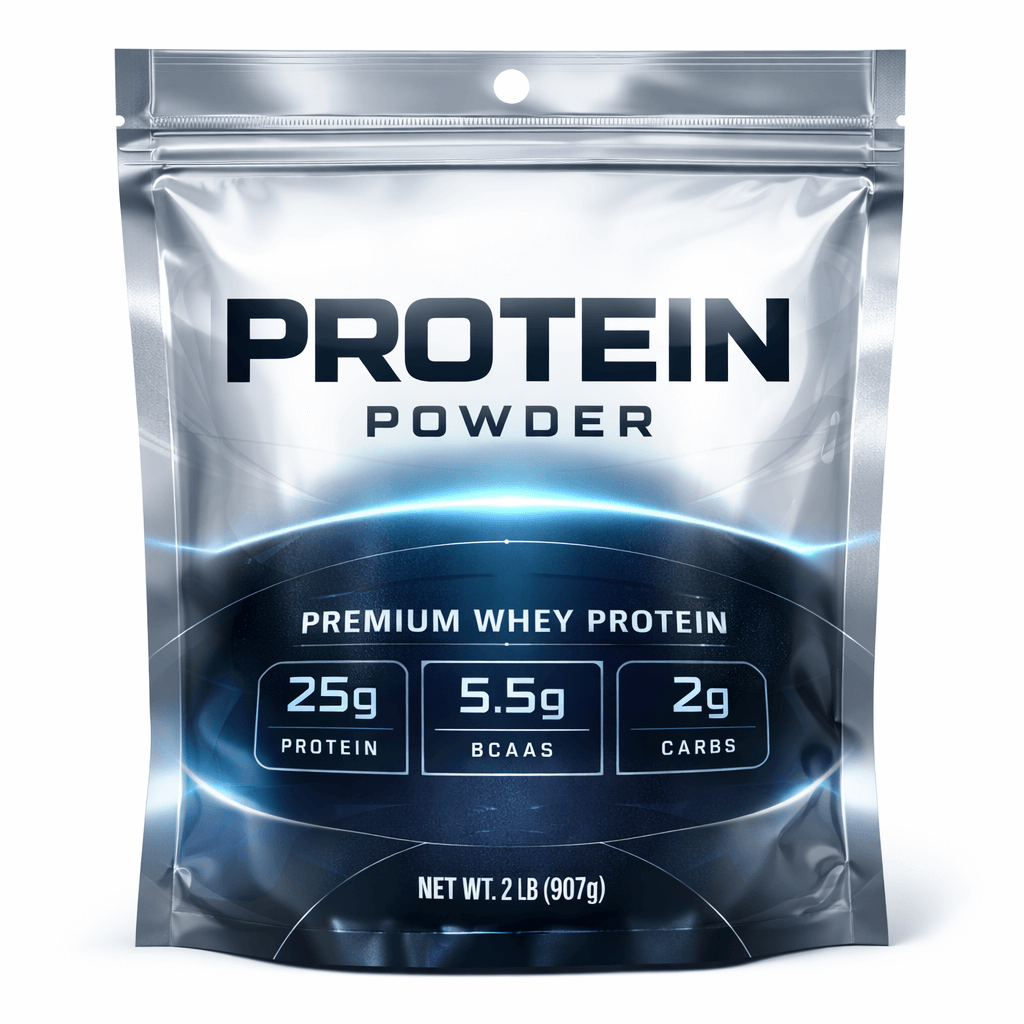
The front panel is your main branding area. It must have a combination of:
• A large logo
• An easily readable product name
• Bright colours or patterns
• Clean layout, no clutter
• High contrast to be easily readable
Since the customer will generally only look at your product for a few seconds, clear is more important than complex.
The back of your bag will generally contain all the legally required information and supporting information.
This may include:
• Ingredients/ product specifications
• How to use it.
• Company information
• Barcode
• Government required labels, etc...
You want to arrange the text clearly so it is still legible on smaller packages.
The colours you select will send a message about how your product will be perceived. Matte finishes have a more premium feel than gloss finishes, yet gloss finishes create a more vibrant finish. Metallic and holographic films will create impact on the product container; however, they must be used sparingly to avoid overpowering the design.
Using consistent colours across your entire product line will help consumers quickly identify your product as part of your brand.
The overall design of your product is much more than the visual side of the product. Depending on the functional features you include, you will be able to provide a better customer experience.
Some of the more common functional details incorporated into the design include:
• Resealable zippers
• Tear notches for easy opening
• Clear windows to see the product
• Hang holes for retail display
If these features are considered as part of the design process, it will eliminate potential layout conflicts in the future.
The manufacturers will require your artwork to be created in high resolution for specific formats (i.e., convert fonts to outline, embed images, have correct colour modes, etc...) so that the printing can be done correctly.
Be sure to look over your proofs and verify them for any errors before giving final approval for production.
First time designers make the same mistakes over and over again due to the same reasons:
• Text is placed too close to edges
• Fold area lines are ignored
• Low resolution images are used
• Layouts are overcrowded.
• Color is poor for printing.
If you can avoid these common mistakes, you are saving time and money and hopefully not having to redo your designs after production.
A good design on your packaging doesn't just make it look good; it creates an identity for the product, protects the product, and influences the consumer's decision to purchase the product. A bag that is designed well may give the consumer a reason to pay more and/or come back for more purchases due to how good the product looked.
Companies that put thought into their packaging design typically gain a greater trust from their customers and consequently, greater sales.
To successfully design mylar bags, you need to merge the creative side with the technical side through the use of the appropriate templates to ensure clarity in your branding and through the use of functional features so the product performs as well as it looks.
Having a strategic design process for utilizing mylar bags to launch a new product or redesigning existing packaging will ensure your mylar bags capture both attention and sustained growth for your brand.
1. How do I design mylar bags for my product?
Start by choosing the correct bag size and style, then use the manufacturer’s dieline template to place your artwork accurately. Focus on clear branding on the front and required product information on the back while keeping important elements inside safe zones.
2. What is a mylar bag dieline template?
A dieline template is a print blueprint that shows cut lines, folds, seals, bleed areas, and safe zones. Designers use it to ensure logos, text, and graphics align correctly on the finished bag.
3. What size should my mylar bag design be?
Your design must match the exact dimensions provided by the manufacturer’s template. Each bag size has different printable areas depending on seams, gussets, and zipper placement.
4. What software is best for designing mylar bags?
Vector design programs like Adobe Illustrator are commonly used because they allow precise sizing, color control, and export of print-ready files required for packaging production.
5. What should I put on my mylar bag design?
Most designs include a logo, product name, key benefits, weight or quantity, ingredients or specifications, instructions, and contact information. Compliance labeling may also be required depending on the product type.
6. How do I make my mylar bag design look professional?
Use high-resolution graphics, strong contrast, readable fonts, and a clean layout. Avoid overcrowding the design and maintain consistent branding across your product line.
7. What colors print best on mylar bags?
Bold, high-contrast colors typically print the most clearly. Metallic and matte finishes can enhance appearance, but designers should review proofs because colors may look different on reflective films.
8. Can I design a mylar bag without a template?
Designing without a template is risky because important elements may be cut off or folded incorrectly. Using the manufacturer’s dieline ensures accuracy and prevents costly errors.
9. How long does it take to design custom mylar bags?
Design time varies depending on complexity, revisions, and approval processes. Simple designs can be completed quickly, while detailed artwork may require multiple proofing rounds.
10. Do manufacturers help with mylar bag design?
Many packaging suppliers offer design assistance or prepress checks to ensure artwork meets printing requirements before production begins.


